Writing a microk8s addon on Mac
In a previous tutorial, I showed how to get started with microk8s on Ubuntu. Microk8s is a lightweight Kubernetes distribution; you can either run it locally or in production. In this tutorial, I will show you
- How to install microk8s on a Mac
- Develop and test a community add-on – in my case, I have added the Trivy Operator to microk8s
Special thanks for the help to
Backstory (you can skip this)
I have been using microk8s for some time until it stopped working on my Mac. For the longest time, I could not figure out what was wrong. Two months later, I really had to update the Trivy Operator addon, and finally managed to fix my local microk8s cluster. Others might have similar problems with their microk8s installation on Mac; for those, this blog post might be helpful.
In addition, the README in the community addons does not describe how to test an addon on Mac. Thus, I am detailing the process I followed in this blog post.
Install microk8s
Prerequisites:
Microk8s has a very nice guide on spinning up a one node microk8s cluster on Mac. However, the guide did not work for me. Whenever I ran ‘microk8s install’ multipass, used for the VM to run the node(s), threw errors.
Short solution: Install multipass first, and separately before installing and running microk8s.
So here is what I did step by step:
- Install multipass:
brew install --cask multipass - Make sure you can spin up a VM:
multipass launch --name demo - And then test opening a shell in that VM:
multipass shell demo - Exit the demo VM:
exit - Stop, delete and clean up the deleted VM:
multipass stop demomultipass delete demomultipass listmultipass purge demomultipass list
Note: the purge command will only remove all deleted instances. Thelistcommand will provide a nice overview of the differnet VM instance available. - Install microk8s:
brew install ubuntu/microk8s/microk8s - Create a microk8s cluster:
microk8s install - View the VM:
multipass list - You can already access your cluster through `microk8s kubectl get nodes`; to use your cluster directly through kubectl, follow these steps:
First, go to your home directory:
cd $HOME
If you don’t have a .kube folder, create one:mkdir .kubecd .kube
In the .kube directory move your microk8s kubeconfig:microk8s config > config
Creating a new microk8s addon
You can view all the existing microk8s addons through:
microk8s status
To create your own addon, we must do multiple things:
- Write an addon
- Update the microk8s channel used to test our addon
- Add the addon to the addon folder inside of the microk8s-vm
Write an addon
The addons are in the microk8s-community-addons Git repository. You have to do four main things when writing your addon:
- Create an enable script that will install the tool
- Create a disable script that will remove
- Add the tool to the addons.yaml in the root of the folder
- Write a unit test
I followed the argo-cd addon to create the trivy-operator one. Thanks for Engin for the help on figuring that part out.
To test the addon, follow these steps:
- We need to update the channel (specific microk8s release) that we are using to have access to edit the addons. For this, first open a shell in the microk8s-vm:
multipass shell microk8s-vm - Become sudo:
sudo su - Update the channel – you can see a list of channels and their specific use case here; to access, add and test add-ons, we need the edge channel:
snap refresh microk8s --channel 1.25/edge - Open the addons folder:
cd /var/snap/microk8s/common/addons/core/addons - Make sure you see all the other addons here:
ls - Create a new directory for your addon:
mkdir trivy - Create a disable script in that folder & copy the content of your enable script into that file:
nano trivy/disable - Create an enable script in that folder & copy the content of your enable script into that file:
nano trivy/enable - Make sure both scripts are executable:
chmod +x trivy/enablechmod +x trivy/disable - Modify the addons.yaml to use your scripts:
vim addons.yaml
Lastly, we can try and use the addon. exit the shell & then simply run:
microk8s enable <name of your addon>
In our case, this will be:
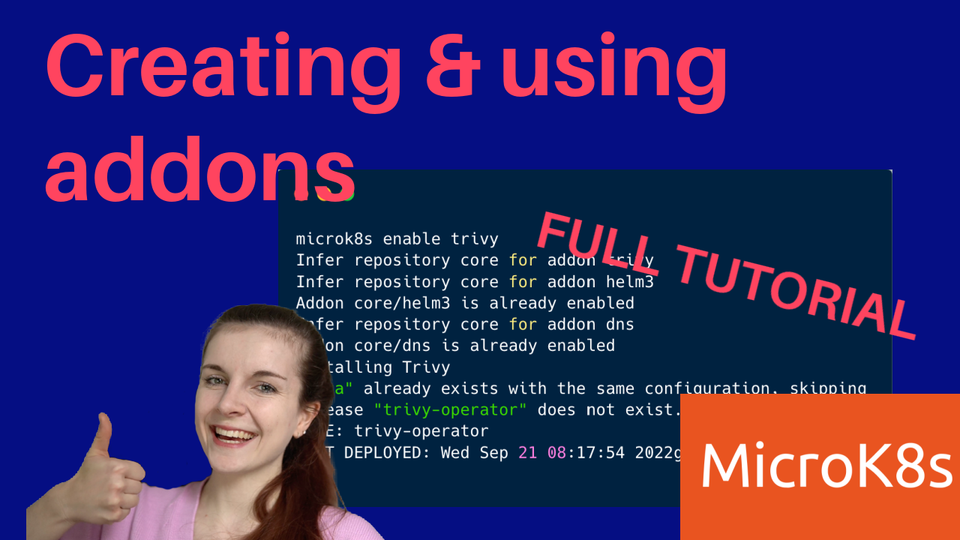
microk8s enable trivy
Make sure that your addon is installed properly; and then you can disable your addon:
microk8s disable <name of your addon>
microk8s disable trivy
What’s next?
What are your favourite CNCF projects? Does an addon for them already exist in the microk8s addons? If not, maybe you can create one.
Otherwise, have a look at the YouTube video & my YouTube channel for more tutorials related to Kubernetes and the cloud native ecosystem.